How we created a Gentle Monster x Pokémon AI campaign using NanoBanana Pro and Kling
What if Gentle Monster dropped a Pokémon collab? In this breakdown, we walk through how a futuristic sunglasses concept and full campaign were created using NanoBanana Pro, Kling 3.0, and Cinema Studio.

This is Part 2 of our series where we break down spec ads you can actually recreate yourself.
No theory, no vague workflows. Just ready-to-copy prompts and a clear path from idea to final output.
The goal is simple:
Take the exact process, run it in your own setup, and see how far you can push it.
For this one, we asked:
What if Gentle Monster dropped a Pokémon collab?
Not a reader? Check out the interactive workflow at the end of the post.
Let’s get into it.
Step 1 — Defining the Design DNA
Everything starts with taste.
Before opening any tool, we defined what both worlds stand for:
- Gentle Monster → futuristic luxury, sculptural silhouettes, statement eyewear
- Pokémon (Pikachu) → iconic shape language, especially the zigzag tail
The goal wasn’t to just combine logos.
It was to translate Pikachu into a luxury design language.
That’s where the core idea came from:
- Temple arms inspired by Pikachu’s lightning-shaped tail
- Executed in polished chrome, not cartoon styling
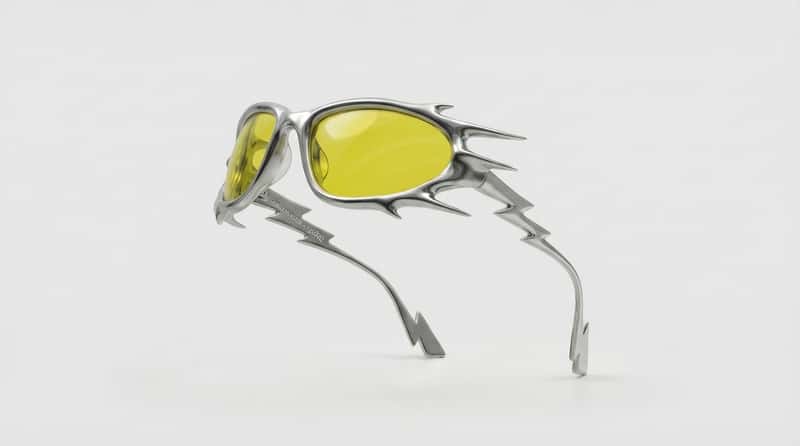
Step 2 — Designing the Product With NanoBanana Pro
Everything started with a single product image generated in NanoBanana Pro.
Instead of prompting generic sunglasses, the goal was to create something that feels authentically Gentle Monster — bold, sculptural, and premium.
Key details included:
- A liquid-metal wraparound silhouette
- Sharp, organic spikes and aerodynamic edges
- Mirror-polished chrome with ray-traced reflections
- Translucent electric-yellow lenses
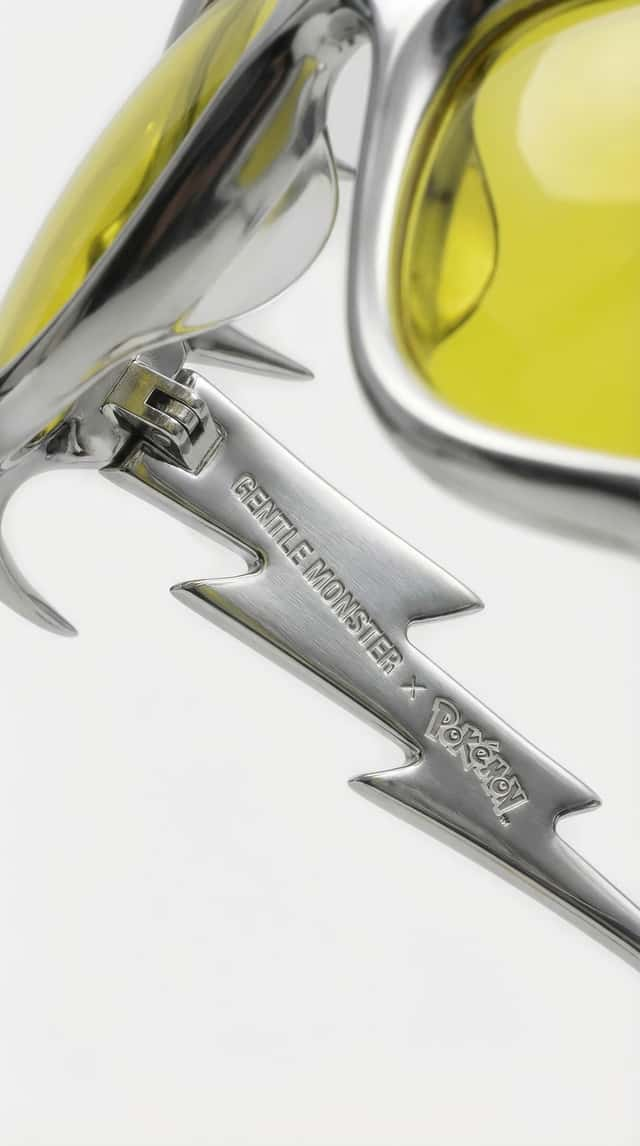
- Subtle micro-engraved co-branding on the inner temple
The image was structured like a high-fashion product campaign visual — strong contrast, clean background, and hyper-real material definition.
This served as the foundation for the entire campaign.
Here the ready-to-copy prompt:
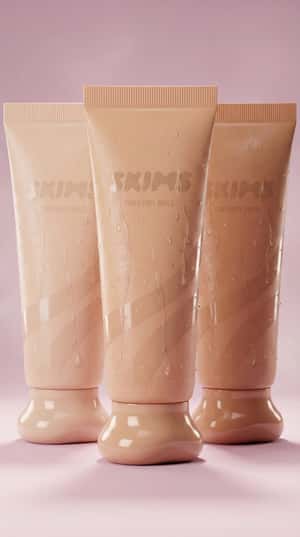
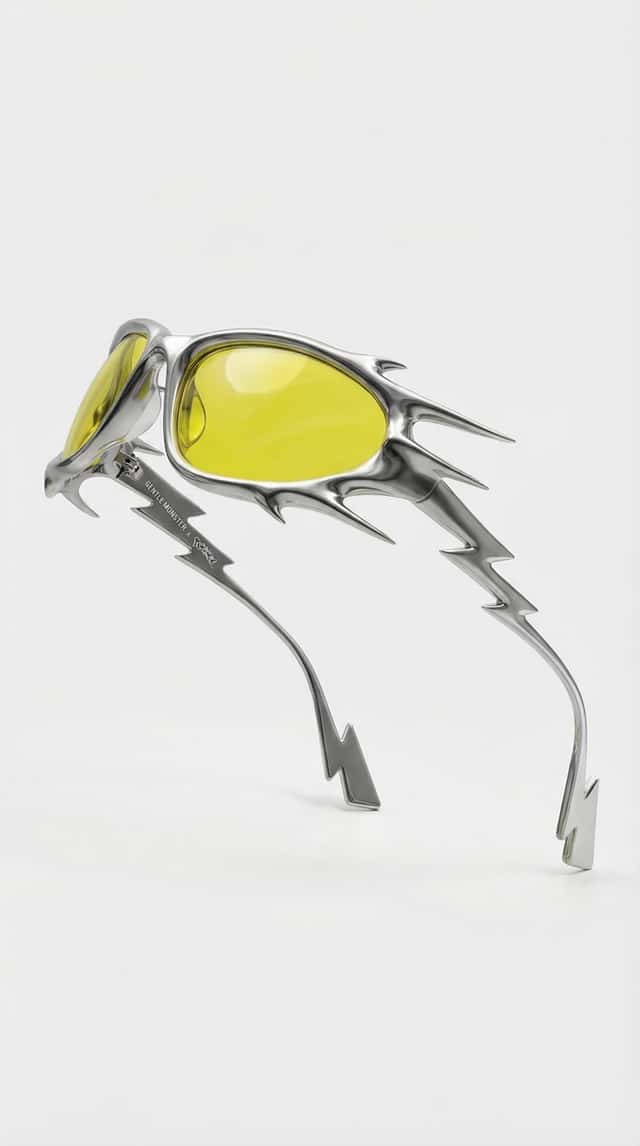
Step 3 — Creating Campaign Assets
Once the hero product is locked, the next step is expanding it into a campaign system.
We created:
- A frontal product shot
- A macro close-up highlighting the engraved branding
Ready-to-copy prompts:
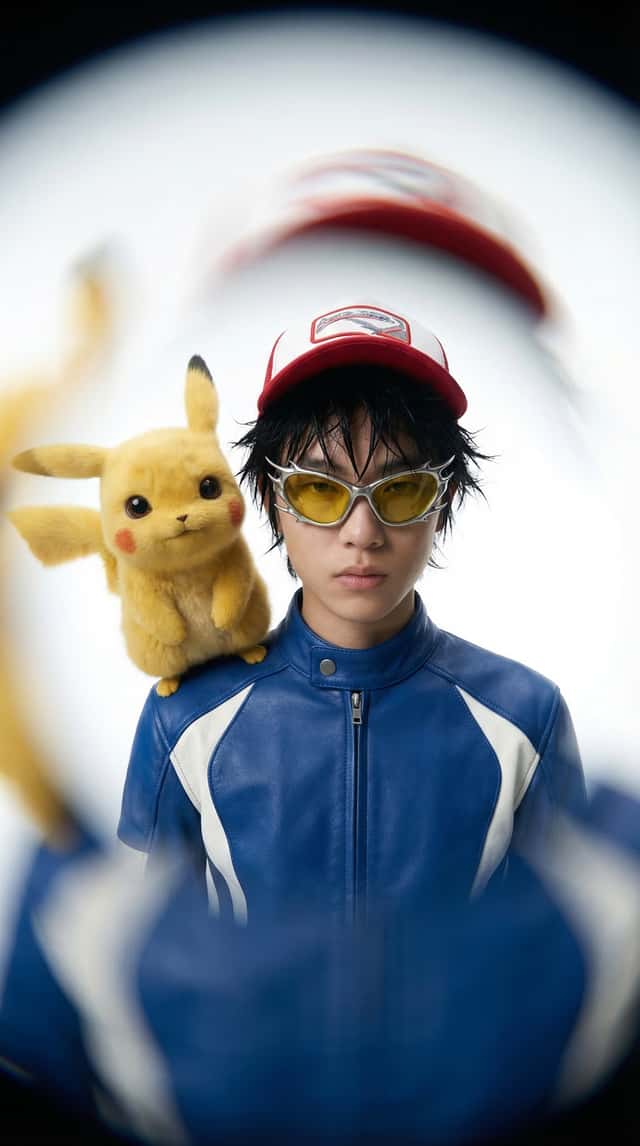
Step 4 — Introducing the Character
Now we move from product → campaign.
We introduced:
- A styled model with a high-fashion editorial look
- Pikachu as a hyper-real companion, not a cartoon
This step connects the concept to something bigger.
It turns the idea into a world, not just a product.
Ready-to-copy prompt:
Step 5 — Bringing It Into Motion
With all frames ready, we moved into animation.
Instead of generating everything from scratch, we:
- Created start + end frames
- Used Cinema Studio + Kling 3.0 to generate transitions
Key moments:
- Floating sunglasses reveal
- Smooth 360° rotation
- Lightning bursts inspired by Pikachu’s tail
- Cinematic zoom and energy build
The key here: Keep everything controlled and premium
No chaos, no over-animation — just clean, intentional motion.
Ready-to-copy prompts:
Step 6 — Final Output
The result:
A fully believable luxury collab campaign
that never existed — but feels like it could drop tomorrow.
Interactive Node Workflow
If this was useful, you’ll like FAST FORWARD.
- emerging creative workflows and AI news It’s our weekly signal on:
- standout AI + CGI work
- ideas you can actually apply
No noise. Just things worth paying attention to.